Your smart home shouldn’t need the internet to work
Most smart home platforms are cloud-dependent. Your Philips Hue bulb’s “on” command travels from your phone to a server in the US and back again. Alexa and Google Home work the same way. This is fine until the company changes its API, gets acquired, or simply decides to shut down the service – taking your smart home with it.
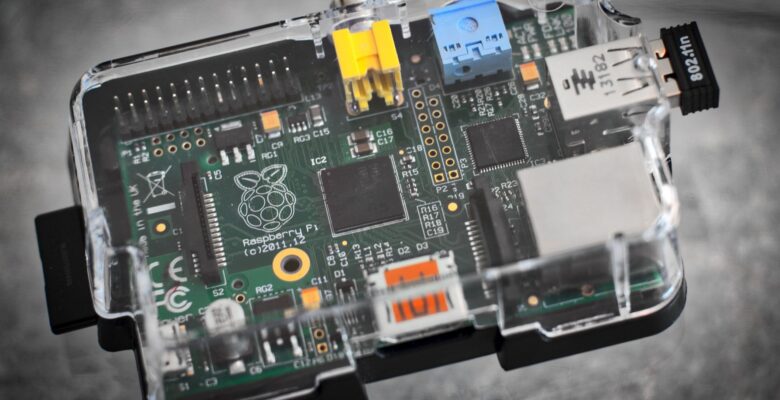
Home Assistant is the alternative. It’s open source, runs entirely locally, and integrates with an enormous range of smart home devices. Most things work without any cloud access whatsoever. Home Assistant on a Raspberry Pi makes a perfect always-on host for it.
What you’ll need
- A Raspberry Pi 4 (4GB or 8GB recommended; 2GB will work for a modest setup)
- A dedicated SD card or, better, a small SSD via USB 3.0
- An ethernet connection for reliability
Installation: Home Assistant OS
The cleanest way to run Home Assistant on a Pi is with Home Assistant OS – a purpose-built lightweight operating system that handles everything. Download the Pi image from the Home Assistant installation page and flash it to your SD card or SSD using the Raspberry Pi Imager or Balena Etcher.
Boot the Pi, wait a few minutes, then browse to http://homeassistant.local:8123. If your router doesn’t resolve mDNS, use the Pi’s IP address directly. You’ll be greeted by the onboarding wizard.
Device integrations
Home Assistant supports over 3,000 integrations. When you first run through setup it will automatically discover devices already on your network – Philips Hue bridges, Sonos speakers, IKEA Dirigera hubs, smart TVs, and plenty more typically appear without any manual configuration.
For integrations that aren’t auto-discovered, go to Settings > Devices & Services > Add Integration and search for what you need. The integration library covers everything from major smart home ecosystems down to individual device brands.
Making non-HomeKit devices work with Apple Home
One of the most useful things Home Assistant can do is act as a HomeKit bridge. Devices that don’t natively support Apple Home – Tuya bulbs, Xiaomi sensors, IKEA lights – can be exposed through Home Assistant as HomeKit-compatible devices. Enable the HomeKit integration, configure which devices to expose, and they’ll appear in the Apple Home app as if they were native.
Automations
This is where Home Assistant gets genuinely powerful. The automation editor lets you build rules that would be impossible in single-vendor ecosystems – cross-brand triggers and actions, time-based conditions, presence detection. Some examples:
- Turn the heating on when everyone’s phone disconnects from the home Wi-Fi (everyone left)
- Flash a light briefly when a specific person arrives home
- Turn off all lights across every brand simultaneously with one button
- Receive a notification if a door sensor is triggered while you’re away
Add-ons and the supervisor
Home Assistant OS includes a Supervisor that manages add-ons – essentially Docker containers with a simplified UI. Useful ones include:
- Mosquitto MQTT broker – for devices that use MQTT
- Zigbee2MQTT – pair Zigbee devices directly without a proprietary hub using a USB Zigbee coordinator
- File editor – edit config files directly from the browser
- Terminal – SSH access from the browser
Going fully local with Zigbee
If you want to take the “no cloud” approach seriously, pair a USB Zigbee coordinator (like the Sonoff Zigbee 3.0 USB Dongle Plus, around £15) with Zigbee2MQTT or the built-in Zigbee Home Automation integration. This lets you use Zigbee devices – bulbs, sensors, switches – with zero cloud dependency. The USB dongle plugs into your Pi and handles the radio communication directly.
This is part six of our “Things to do with your old Raspberry Pi” series. Next week: scanning and archiving your paper documents with Paperless-ngx.