
Adding virtual desktops in mac osx
This is a short blog post about adding virtual desktops in mac osx – virtual desktops are a cool feature that let you have lots of ‘fake’ monitors that you can use to organise your programs, and you can access them with a mouse or keyboard shortcut. Once you get used to them, there is no going back – they are a really awesome feature that helps speed up your workflow.
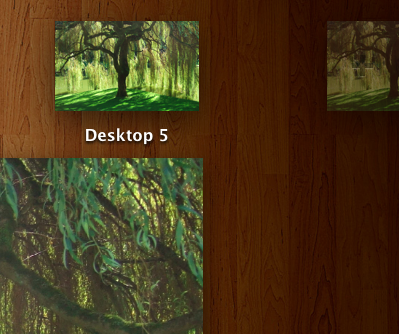
I currently have 6 desktops – one for email and communications, one for browsers, one for code, one for databases, one for music and a spare one at the end for misc things, like photoshop, or terminals when I’m working on servers – you can pin applications to certain desktops once you have them setup (to do this you right click on the app icon in the dock then go to options and pick what you want from the list that shows!)
- Open mission control (click the mission control icon or do a “3 fingers swipe up” gesture on the multi-touch pad)
- Move the mouse to the top right corner of the screen, you will see half of a desktop with a + in it.
- Click that half-desktop with the plus in it as many times as desktops you need.
FAQ:
To see how to delete your spaces, check this post
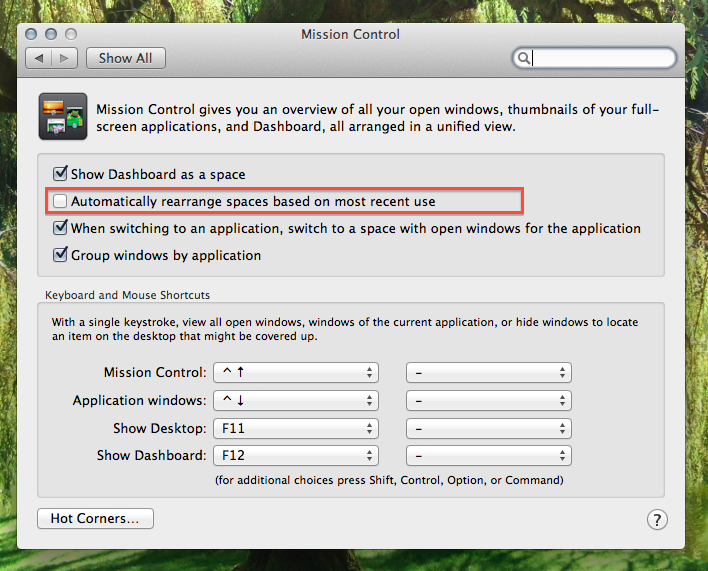
You can stop the virtual desktops re-ordering themselves by going to System preferences > mission control > un-tick ‘automatically rearrange spaces based on most recent use’
Yes, you can arrange virtual desktops any way you like – :) see this post
You can’t give virtual desktops their own name as of now, but this could be a feature in a future update
Leave a Reply
You must be logged in to post a comment.