This tutorial is a basic Kali linux arachni tutorial: to get arachni up and running on your kali linux system and perform a basic scan.
Arahni is a vulnerability scanner for web-apps, it is installed as part of kali-linux, their site is here
Arachni via the command line
Open a terminal and run:
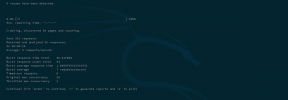
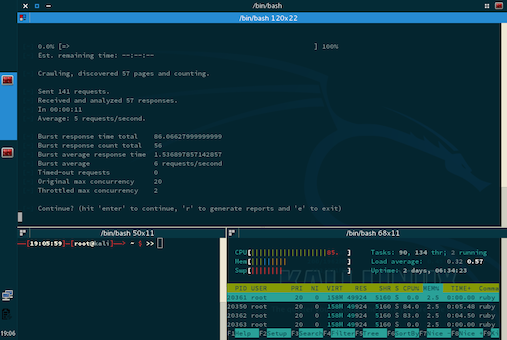
arachni https://url.com
Once arachni is running in a console, it will give you lots of output to the screen – you can switch to an overview by pressing Enter
You can get a list of some of the available options for arachni with:
arachni --help
There is an excellent wiki on github with all the commandline options and usage.
Arachni with a web ui
Open a terminal and run:
arachni_web
Open a browser and point it to https://127.0.0.1:9292
The default login is:
- admin@admin.admin
- administrator
Once logged in, goto
scans > new scan
Fill in the details you want, pick a profile and click ‘Go‘.
Arachni will spider the url and will test for the vulnerabilities specified in the profile you chose (or all vulnerabilities if no profile was chosen)
You can create different profiles, with lots of settings using the web ui, just goto profiles > new and pick the things you like, or need to test for – eg I have a profile specifically for scanning LAMP stacks – this cuts down on the time spent scanning – eg there are no tests for MS specific things, etc.
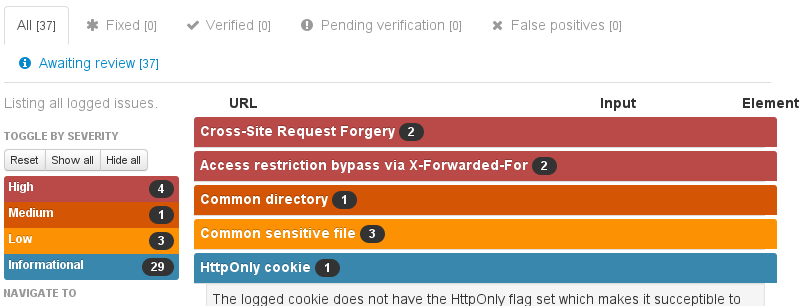
The web ui also provides a nice report layout with lots of information on the vulnerabilities that were found and it updates in real-time.
There is an excellent wiki on github with all the options and usage.
Leave a Reply
You must be logged in to post a comment.