This one might seem a little easy for some people, but it essential that everyone knows it – what is a compressor, and how to use compressor plugins in protools.
Basically a compressor takes the incoming audio and squeezes it, making the louder bits quieter and the quieter bits louder. You have control over how much compression you add to incoming audio. There are four main controls on a compressor – threshold, compression ratio, knee, attack and release.
The threshold is the level at which you wish the compressor to kick in, for example if you have a sound thats peak level is at -3dB and you want to put a little compression on it then you would set the value less than -3dB, or it wont work.
Compression ratio is the ratio you want the compression to happen – for every dB above the threshold it will reduce the output in decibels by the ratio, eg if the output level is 1dB above the threshold and the ratio is 2:1 then it will be reduced by 2dB.
Attack is the time it takes for the compressor to kick in and release is the time it takes to kick out.
The best way to familiarise yourself with these controls is to mess about with them.
How to use compressor plugins in protools
I’ll do a quick example in protools with a kick drum.
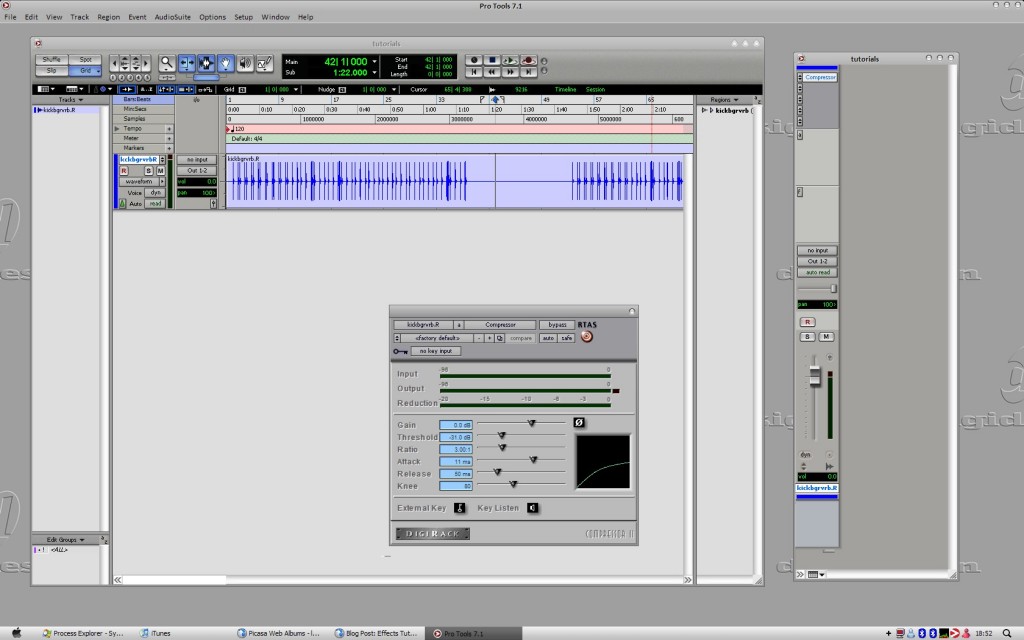
Load up protools, and import a cick drum to a track (the example im using isnt very good – the kicks are pretty much perfect)

but any way, add a compressor to the track – im just using the crappy digidesign one – just to show you how they work =)

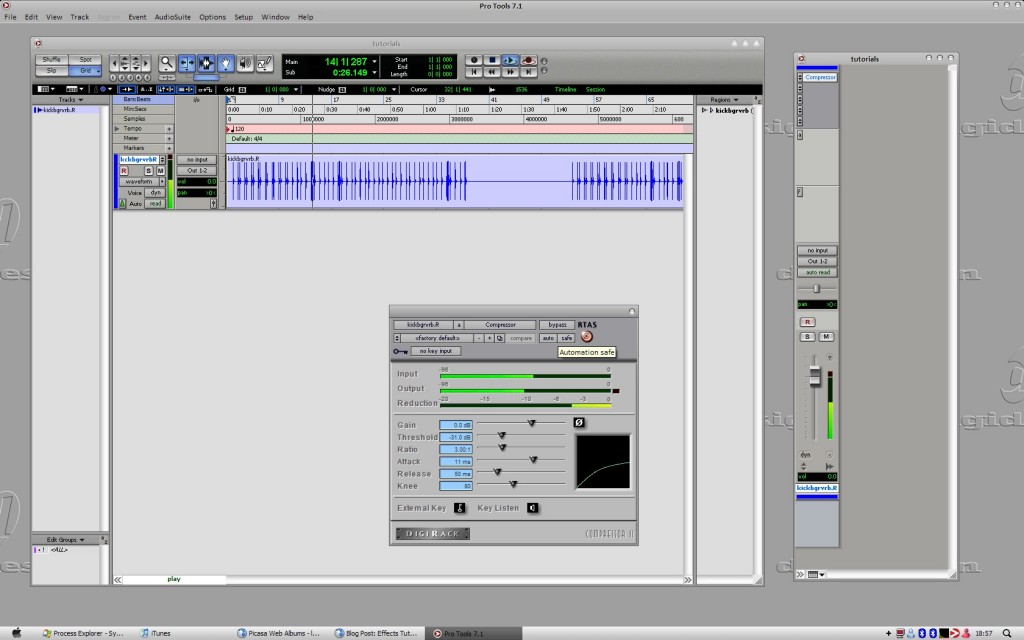
You’ll see a number of controls on it – gain, threshold, ratio, attack, release and knee
Also you have a sidechan (called external key here) but we will get to that in a second.
Start playing your sample – youll notice that the input and output levels and the reduction are going crazy.

There is a meter called ‘reduction’ this is the amount of compression is on your track.
If you reduce the RATIO then the amount of this reduction goes down, if you increase it, then it goes up.
The Threshold is simply the level at which you want the compression to kick in. remember that for every dB above the threshold you are gonna compress by the ratio. the lower the threshold the more reduction you are gonna get.
As I mentioned before the attack is the time it takes for the compressor to apply the compression to the incoming audio.
the release is the time it takes to let go.
The KNEE control is for the shape of your compression – do you want it to be somooth or hard ? eg, when the threshold is reached do you want the ratio to be applied nice and smooth, or do you want it all put on at one time.
Play about with the compressor, you’ll soon find that you can make a kick drum change sound just by adding a compressor.
You now have the basics of how to use compressor plugins in protools!

Leave a Reply
You must be logged in to post a comment.