
Everything you need to know about tags in OSX. OSX Mavericks introduced an interesting new feature: tags.
Tags are used almost like folders. Except that the files that show when you view the tag stay in their original place.
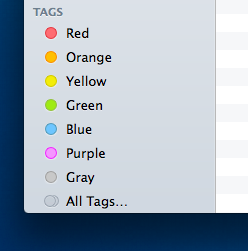
When you open a finder window you will see a list of tags on the sidebar. By default these aren’t really meaningful, but you can fix that:
Adding tags:
You can add tags in a few ways:
In every ‘add tag’ dialog if you type a new tag name it will be created and assigned to the file.
Deleting tags:
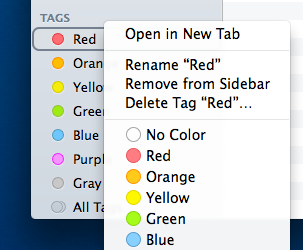
You can delete tags from the tag preferences (finder > preferences > tags) – just right click the tag and go to delete. You can also delete them directly from the sidebar by right clicking on them and going to ‘delete’
Renaming tags:
To rename a tag, right click the tag in the finder side-bar and click ‘Rename’.
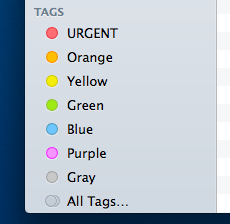
I renamed the ‘Red’ tag to ‘URGENT’
Adding tags to files:
Tags on their own aren’t very useful, unless you apply the tags to files.
To tag files from finder:
1) Drag and drop the file onto the tag in the sidebar.
2) Right click the file and click on the colour of the tag you want to add.

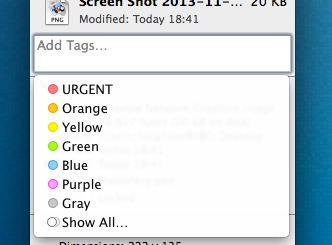
3) Right click the file and ‘get info’
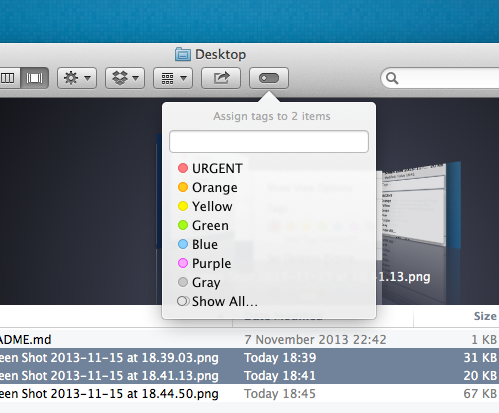
4) Highlight (single or multiple) files in finder and click the ‘tag icon’ to apply the tag to multiple files
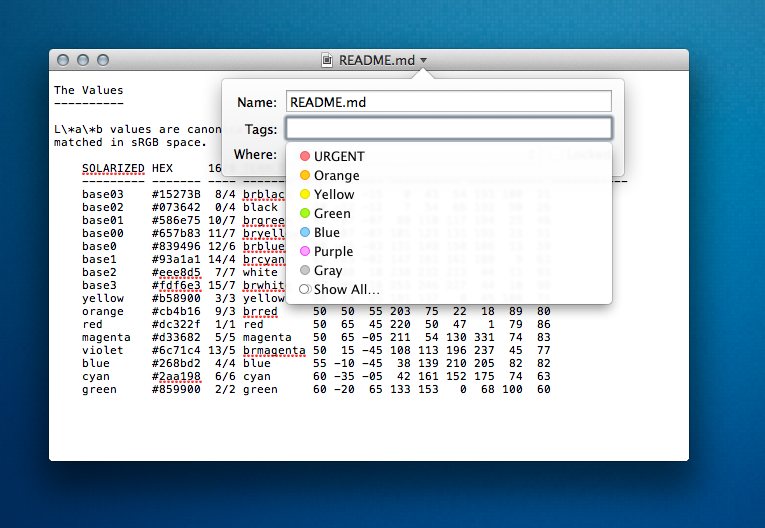
or 5) Click the arrow next to the filename in the title-bar
Files can have multiple tags (e.g., URGENT and Green, etc)
Removing tags from files:
1) Right click the file in finder and click the colour of tag that’s applied to the file.
2) Right click the file and ‘get info’ to add and remove tags.
3) Click the arrow next to the filename in the title-bar and remove tags from there.


